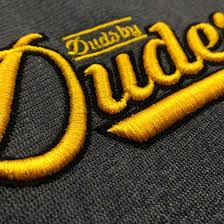
The Benefits of Embroidered Logos on Sports Apparel
Embroidered logos on sports apparel are more than just a decorative touch; they play a crucial role in enhancing a team’s image and functionality. From boosting team spirit to improving brand visibility, the benefits of custom embroidery extend far beyond aesthetics. In this article, we will delve into the numerous advantages of embroidered logos on sports apparel, explore how they contribute to team cohesion and professionalism, and provide tips for selecting the best embroidery service.
Enhancing Team Identity with Embroidered Logos
Embroidered logos serve as a powerful tool for building and reinforcing team identity. Here’s how they make a difference:
1. Fostering Team Unity
Embroidered logos on sports apparel help create a unified look for the team. When every member wears apparel with the same logo, it fosters a sense of belonging and camaraderie. This visual cohesion contributes to a stronger team spirit, as players feel they are part of a collective entity working towards common goals.
2. Showcasing Professionalism
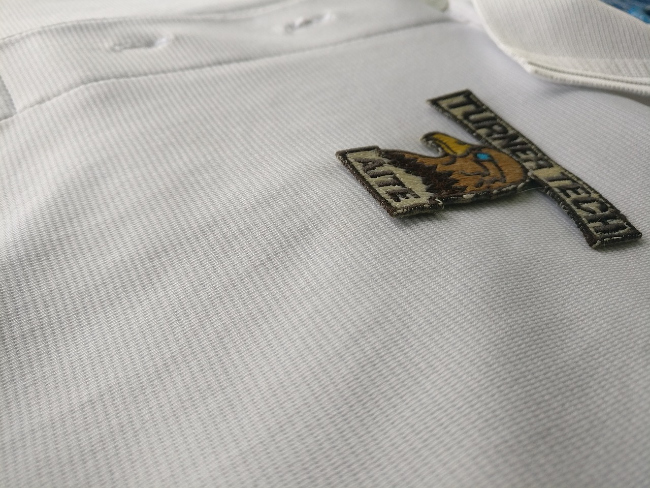
Professional appearance matters in sports. Embroidered logos provide a polished, high-quality look that distinguishes a team from others. Unlike printed logos, which can fade or peel over time, embroidery offers a durable and professional finish. This level of professionalism can positively impact how opponents, spectators, and sponsors perceive the team.

3. Building Brand Recognition
For teams sponsored by companies or organizations, embroidered logos are an effective way to build brand recognition. Displaying sponsor logos prominently on apparel not only boosts the sponsor’s visibility but also strengthens the relationship between the team and its sponsors. This can lead to increased support and opportunities for future collaborations.
Functional Advantages of Embroidered Logos
Beyond aesthetics, embroidered logos offer several functional benefits that contribute to the overall value of sports apparel:
1. Durability and Longevity
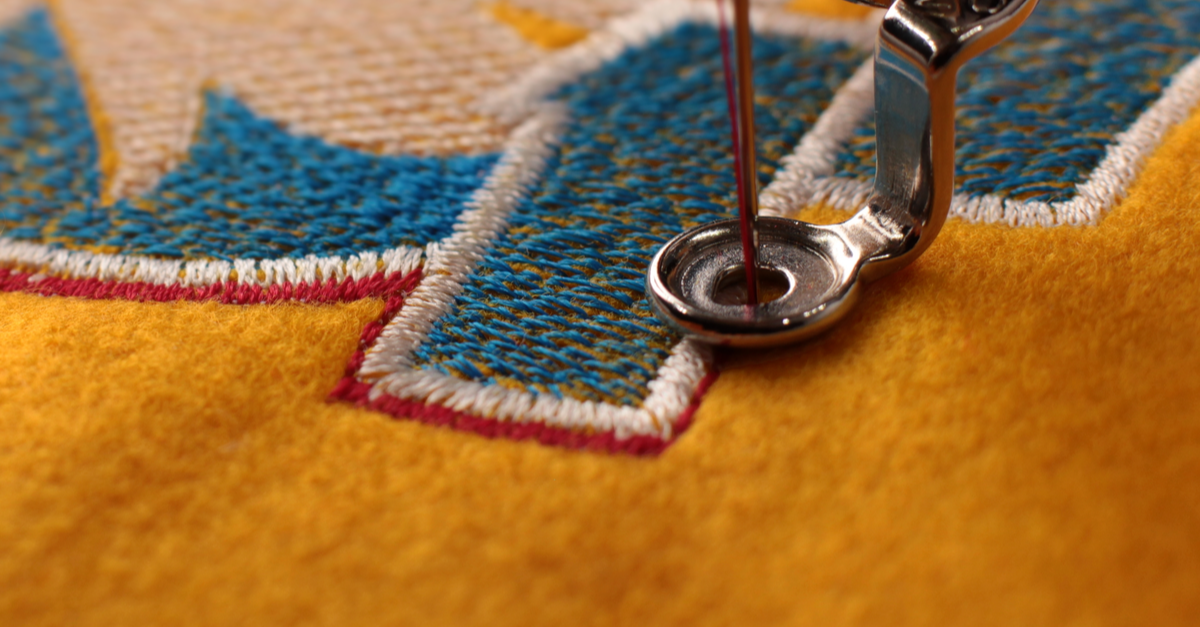
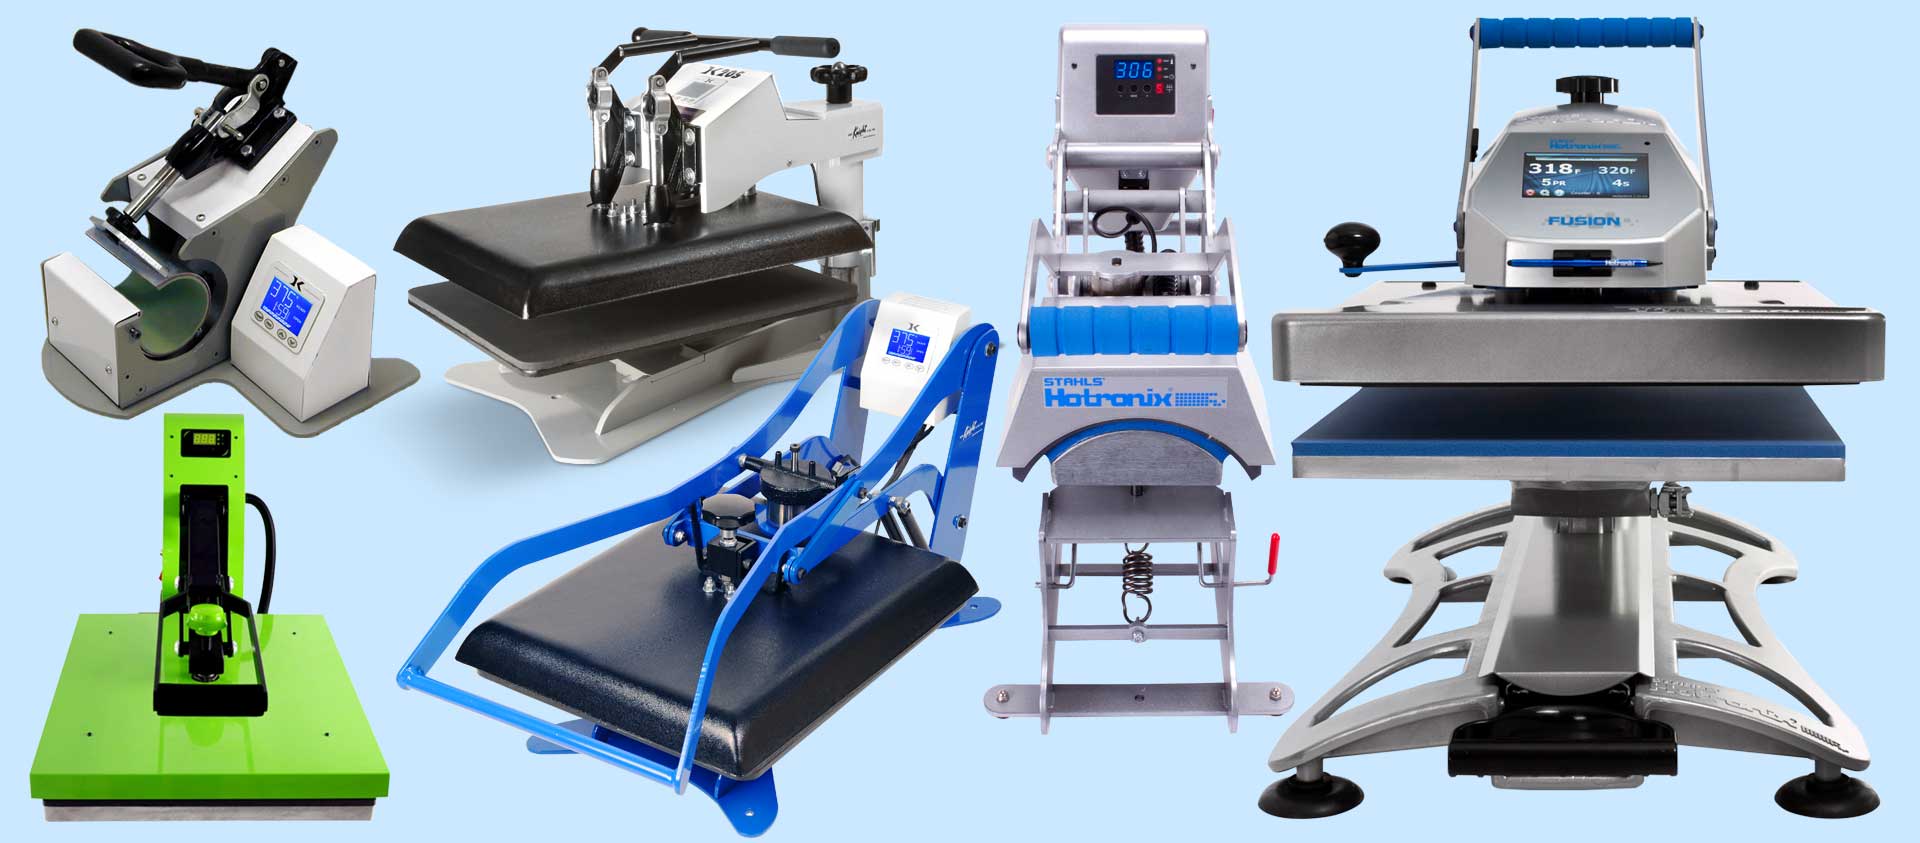
Embroidered logos are known for their durability. Unlike other customization methods such as screen printing or heat transfers, embroidery involves stitching the design directly onto the fabric. This makes it resistant to wear and tear, ensuring that the logo remains intact even after extensive use and multiple washes. https://www.industrialandsafetywarehouse.com.au/
2. Enhanced Visibility
Embroidery adds texture and dimension to the logo, making it more visible and prominent. This is particularly beneficial for logos on sports apparel, as it ensures that team names, numbers, and sponsor logos are easily recognizable. Enhanced visibility helps in both on-field recognition and during media coverage, contributing to greater brand exposure.
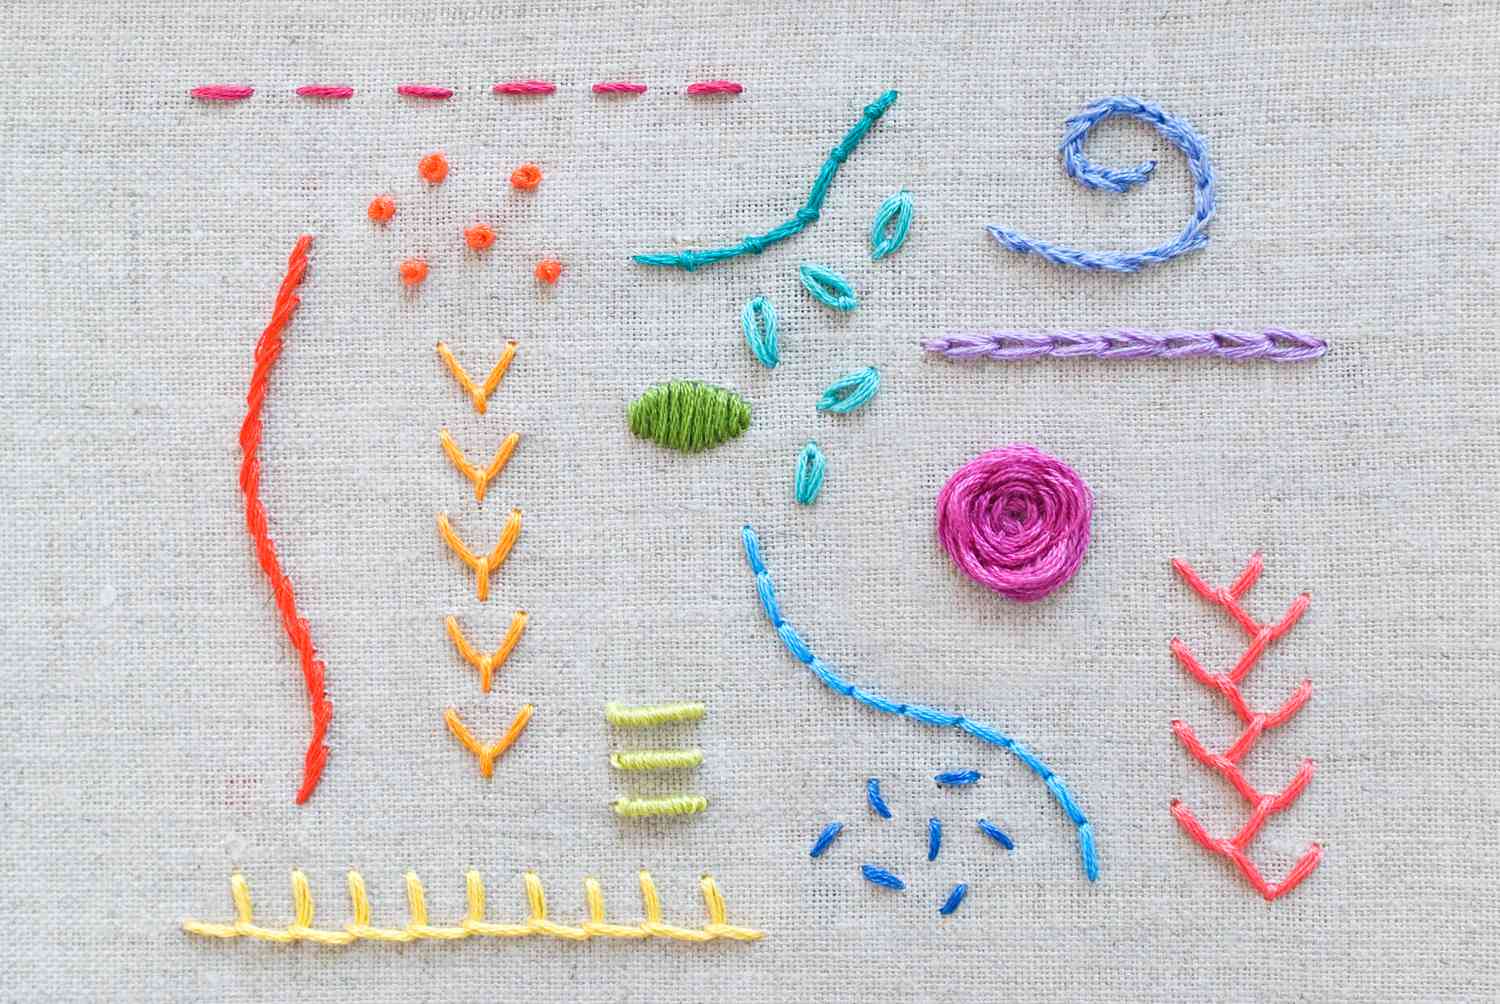
3. Customization Flexibility
Embroidery offers flexibility in terms of customization. Whether you need a simple team logo or a complex design, embroidery can accommodate various styles and sizes. This flexibility allows for precise representation of your brand or team identity, with options for different thread colors, fonts, and stitching techniques.
How to Choose the Right Embroidery Service
Selecting the right embroidery service is crucial to achieving the best results for your sports apparel. Here are some tips to help you make an informed choice:
1. Assess Their Portfolio
Reviewing the embroidery service’s portfolio is a good starting point. Look for examples of their work on sports apparel to gauge the quality and accuracy of their embroidery. A reputable service should be able to provide samples that match your requirements.
2. Consider Their Experience
Experience matters in embroidery. Choose a provider with a proven track record in handling sports apparel and a deep understanding of the specific needs of sports teams. Experienced professionals are more likely to deliver high-quality results and meet your expectations.
3. Check for Customer Reviews
Customer reviews and testimonials can provide valuable insights into the embroidery service’s reliability and customer satisfaction. Look for reviews that highlight the quality of their work, customer service, and adherence to deadlines. Positive feedback from previous clients is a good indicator of a trustworthy provider.
4. Request Quotes and Samples
Before making a decision, request quotes and samples from different embroidery services. Compare quotes to ensure you’re getting a fair price and review samples to assess the quality of the embroidery. This will help you make an informed choice and avoid any surprises.
Conclusion
Embroidered logos on sports apparel offer numerous benefits, from enhancing team identity and professionalism to providing durability and visibility. By investing in high-quality embroidery, sports teams can create a unified and polished appearance that boosts team spirit and strengthens brand recognition. When selecting an embroidery service, consider their portfolio, experience, customer reviews, and pricing to ensure the best results. Embrace the advantages of custom embroidery and elevate your team’s image with stylish and durable sports apparel.